Grow Your Own Microgreens: The Ultimate Guide (with links to recommended products)
Microgreens are nutrient-packed, tender, young plants harvested just after they've sprouted their first true leaves. They make a delicious and healthy addition to salads, sandwiches, and smoothies. The best part? You can easily grow microgreens at home, even if you don't have a green thumb. In this blog post, we'll guide you through the process of starting your own microgreens garden (but if you want the easy way out there are microgreen kits you can purchase but those are not nearly as rewarding and satisfying as putting in the work yourself, just saying).
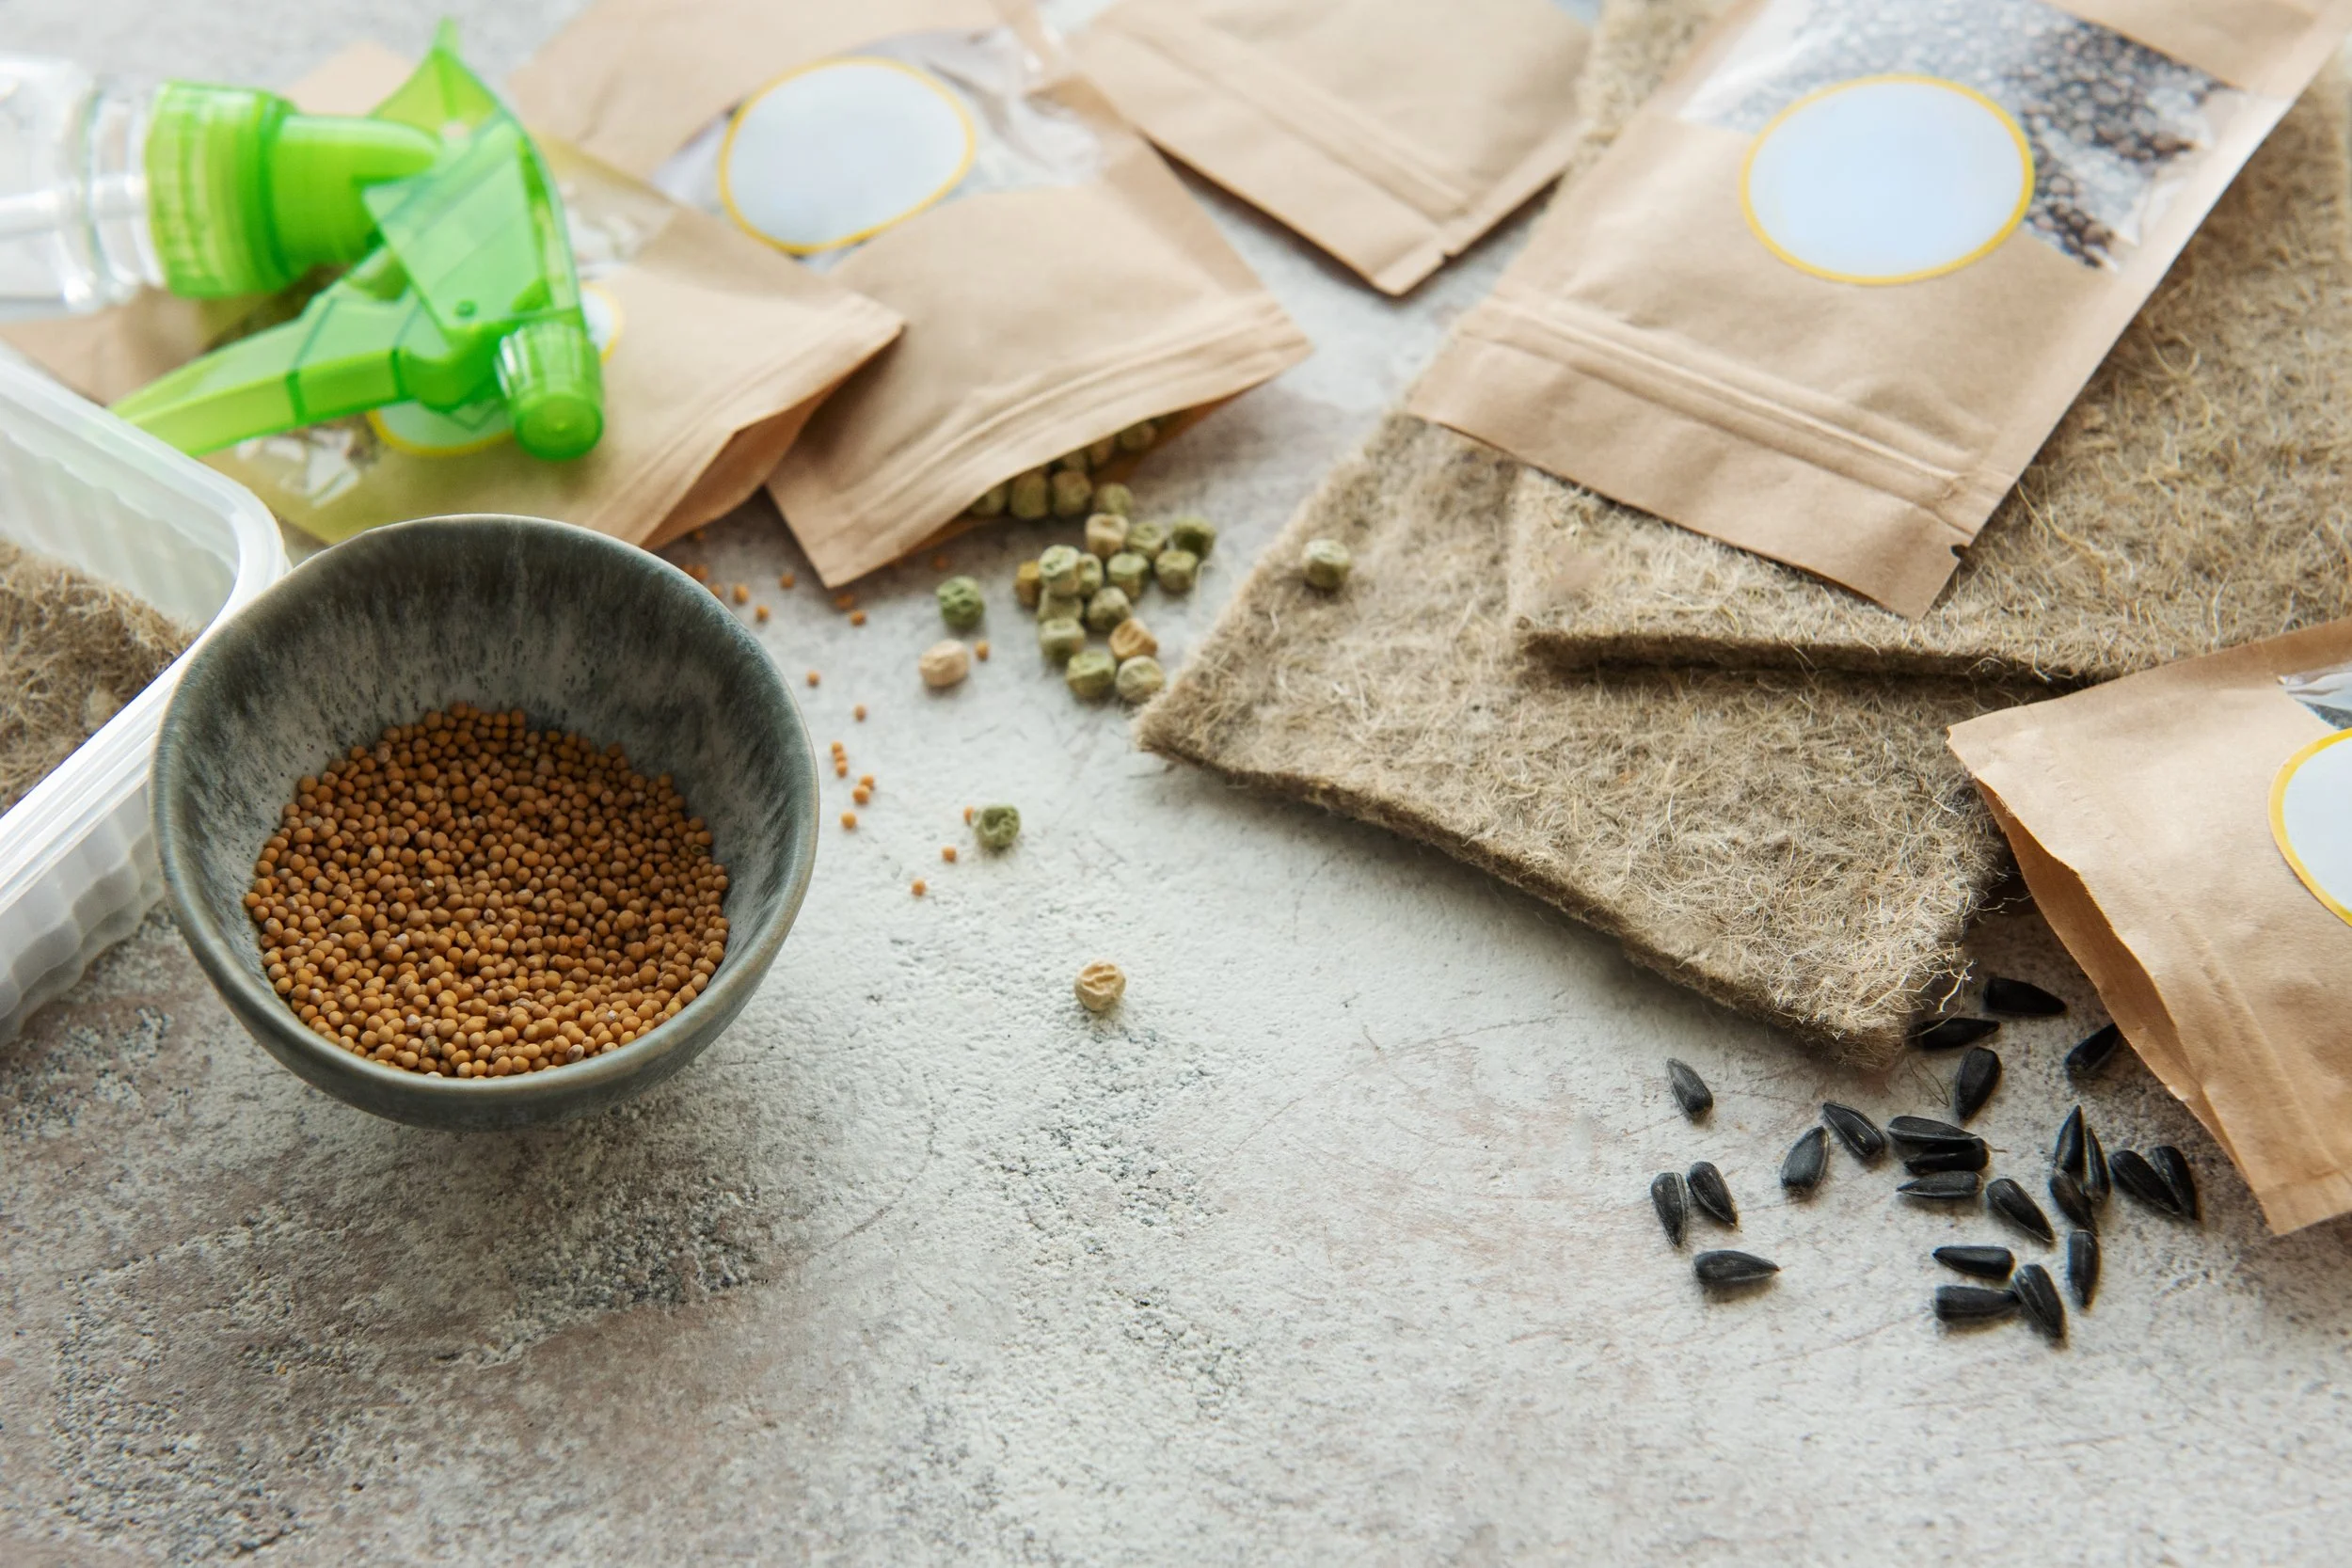
Step 1: Gather Your Supplies
(links embedded for recommended products we use on our farm)
To start growing microgreens, you'll need the following supplies:
Seeds: Choose high-quality microgreen seeds from a reputable supplier. Some popular options include radish, kale, arugula, and broccoli. You can find a variety pack on Amazon here.
Growing trays: You'll need shallow trays with drainage holes to grow your microgreens as well as trays with no holes. Or if you want a smaller tray I love these as an option.
Soil: A high-quality, organic potting mix is essential for healthy microgreens. This mix on Amazon is a great choice, it is mixed with coconut coir which helps with water retention.
Spray bottle: A spray bottle will help you keep the soil consistently moist without overwatering.
Harvesting tool: You can use either a harvesting knife or even scissors (I personally prefer the scissors but you will figure out what works best for you).
Light source: Microgreens need plenty of light to grow. There are many grow light options; you can opt for an actual grow light or even an LED Light works just fine too.
Step 2: Prepare Your Growing Trays
(Pictured is a tray using just a growing mat - that is one method but we will discuss the method using soil)
Take a tray with holes and place inside a tray with no holes. Fill your growing tray with holes to the top with pre-moistened potting mix (filling the soil to the top will make harvesting easier). Make sure the soil is evenly distributed. Once you have filled the soil to the top take another tray and slightly compact the soil, but not too tightly packed.
Step 3: Sow Your Seeds
Sprinkle your chosen microgreen seeds evenly across the surface of the soil. You'll want a dense layer of seeds, but try to avoid clumping them together. Lightly press the seeds into the soil to ensure good contact.
Step 4: Water Your Seeds
Using your spray bottle, mist the soil surface until it's evenly moist but not soaking wet. Make sure to keep the soil consistently moist throughout the germination process.
Step 5: Cover the Seeds
Take your third empty tray and place on top of your tray with soil and seeds (I will add something heavy like a small bag of seeds in the tray— this tricks the seeds to think they are under soil). You will then want to place in a dark cabinet for 3-5 days - this will help germination. Ensure during this period you are misting your seeds once or twice a day to keep the soil moist, but not too wet.
Pictured - Microgreens growing under light
Step 6: Provide Light and Warmth
You check your seeds 3-5 days after placing in the cabinet and see small 1-2” shoots coming up! Now it is time to get them under some light! Place your trays in a warm location under your grow light. The ideal temperature for most microgreens is between 65-75°F (18-24°C). You will keep your microgreens under light for 12-18 hours a day.
Step 7: Watering
We will now begin bottom watering our microgreens (this is whre making sure you put the tray with no holes on the bottom or you will soon find out and learn for the next round HAHA). To bottom water carefully move the seed tray out or just push a corner to the side and add water to the bottom tray with no holes (enough water to cover the bottom tray == roughly 1/2 inch of water). Check your microgreens daily to see if they need more water!
Step 7: Monitor and Maintain
Check your trays daily to ensure the soil remains moist. Ensure you are mointoring your trays to ensure there is no mold growing on the seeds (this can happen for a number of reason ie. excessive watering, contanimated growing mediums, etc.). Each day you will be amazed on how much your microgreens have seemed to have grown!
Step 8: Harvest Your Microgreens
Most microgreens are ready to harvest when they've developed their first true leaves, typically within 7-14 days. To harvest, use clean scissors to snip the stems just above the soil level. Rinse your microgreens and enjoy them fresh in your favorite dishes (check out our Microgreen Recipe post for some ideas)!
~~~~~~~~~~~~~~~~~~~~~~~~~~~~~~~~~~~~~~~~~~~~~~~~~~~~~~~~~~~~~~~~~~~~~~~~~~~~~~~~~~~~~~~~~~~~~~~~~~~~~~~~~~~~~~~~~~~~~~~~~~~~~
Growing your own microgreens is a fun and rewarding way to add fresh, nutritious greens to your diet. With the right supplies and a little care, you'll be enjoying your homegrown microgreens in no time. Happy growing!
If you have any questions feel free to shoot us an email at rebelonefarms@gmail.com and we would be happy to help you along your growing journey!


